
Dental CE
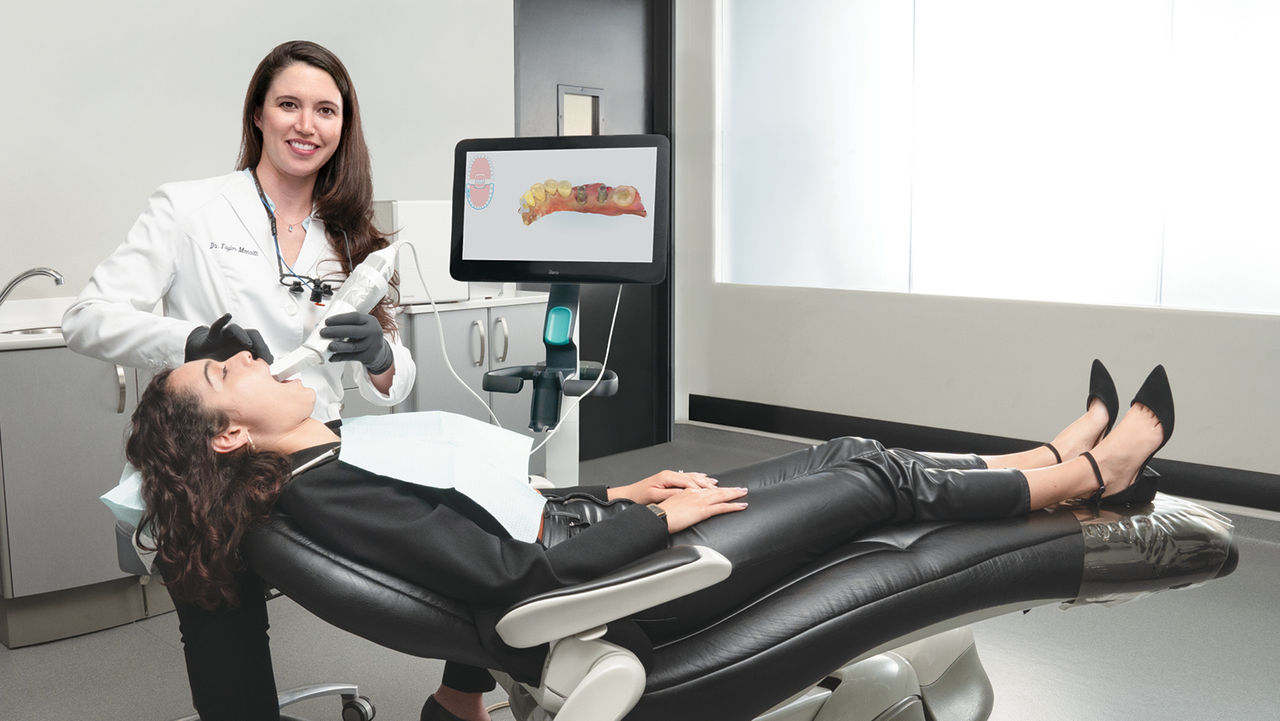
- Free online CE course by Taylor Manalili, DDS: “Implant Impressions: The Digital Approach”
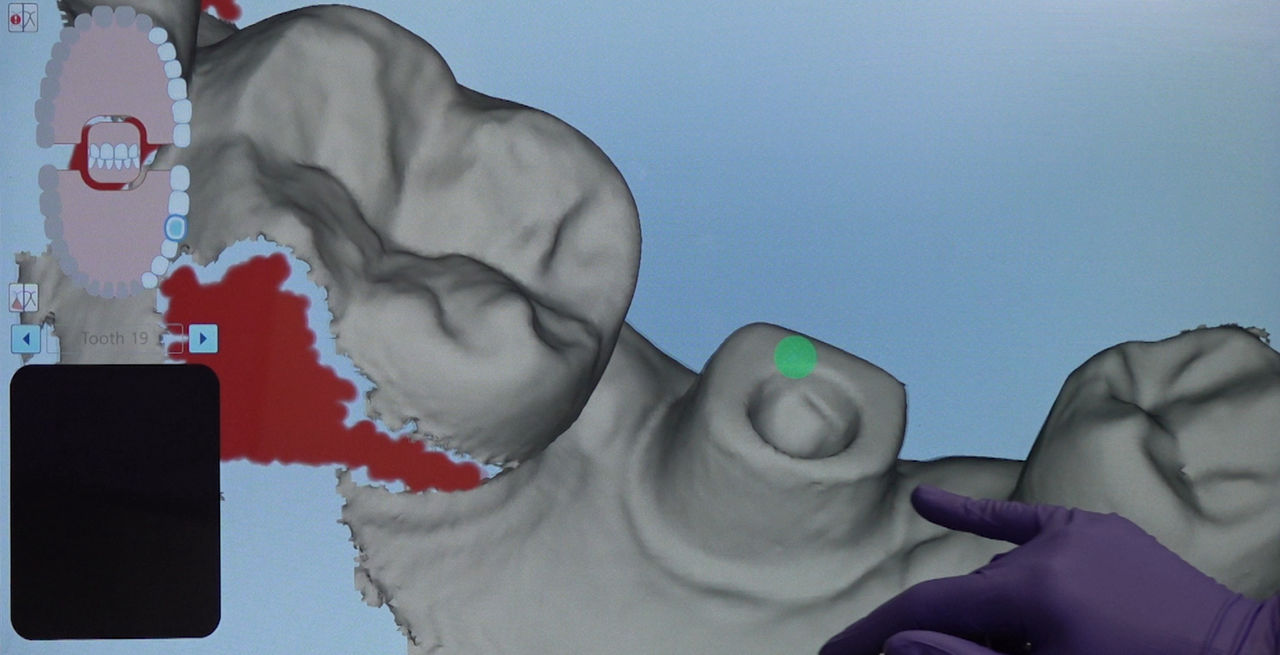
- Free online CE course by Will Schmidt, RDA: “Intraoral Scanning: Pre-Treatment Applications”
- Free online CE course by Will Schmidt, RDA: “Digital Scanning for Restorative Dentistry”
- Free online CE course by Will Schmidt, RDA: “Introduction to Digital Dentistry for the Dental Auxiliary”
- Free online CE course by Justin Chi, DDS, CDT: “Clinical Success with CAD/CAM Restorations”
Related Dental Articles
- Justin Chi, DDS, CDT: “Common Problems with Digital Impressions — and How to Avoid Them”
In-Person Dental CE Courses
- Timothy F. Kosinski, DDS, MAGD: “Surgical Placement of Dental Implants: A Restorative-Driven Approach”
- Charles Schlesinger, DDS: “Making Implants a Profitable Part of Your Practice: Simplified Techniques for Success”