In this issue:
Maxillary Complete Dentures: Reestablishing Natural Tooth Position (1 CEU)
Author

Correctly reestablishing tooth position is a foundational skill for any successful full-arch rehabilitation, whether it is tooth-supported, a complete denture or an implant reconstruction.
This patient presented with a broken and worn maxillary complete denture that he could no longer wear. A previous prosthesis can be a valuable reference guide for the laboratory technician when establishing tooth position and esthetics. Since the previous prosthesis was broken and worn beyond repair, our challenge was to provide the patient with a new complete denture without the benefit of any previous information. Although the following case example illustrates conventional materials and methods, the concepts remain the same in a digital workflow.
Properly utilizing a wax rim in complete denture cases can make or break the rest of the procedure. By accurately shaping, marking and measuring the wax rim, you are able to establish the functionality and esthetics of the device earlier in the process, making it clear to the lab how you want the final restoration to look and fit. This leaves less up to the judgment of the technicians who do not have access to your patient. Although slight adjustments to the wax rim can be made by the lab, most changes should be done chairside with your patient present, due to the esthetic requirements of maxillary denture cases.
The wax-rim stage usually takes place after submitting the final border molded impressions and is a crucial step in achieving the desired outcome of a denture case. This article will go through my clinical protocol for using the wax rim, including how to capture the incisal edge, occlusal plane and vertical dimension of occlusion (VDO).
CASE REPORT

Figure 1: After submitting final impressions to the laboratory, a conventional wax rim was fabricated. The lab placed two central incisors in the wax rim to help me establish midline and incisal edge position during the next clinical appointment. When properly adjusted, the wax rim will help establish esthetics, function and phonetics. The completed wax rim will help guide the dental technicians when creating the tooth setup.
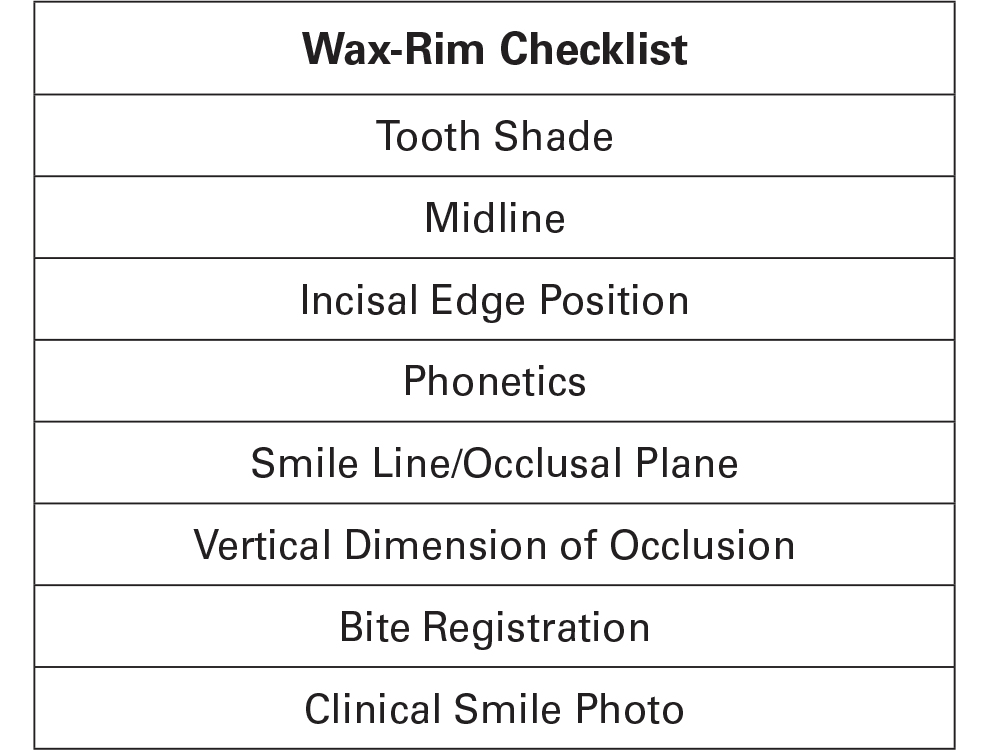
Figure 2: With the patient in an upright, seated position, review this checklist and adjust the wax rim accordingly.
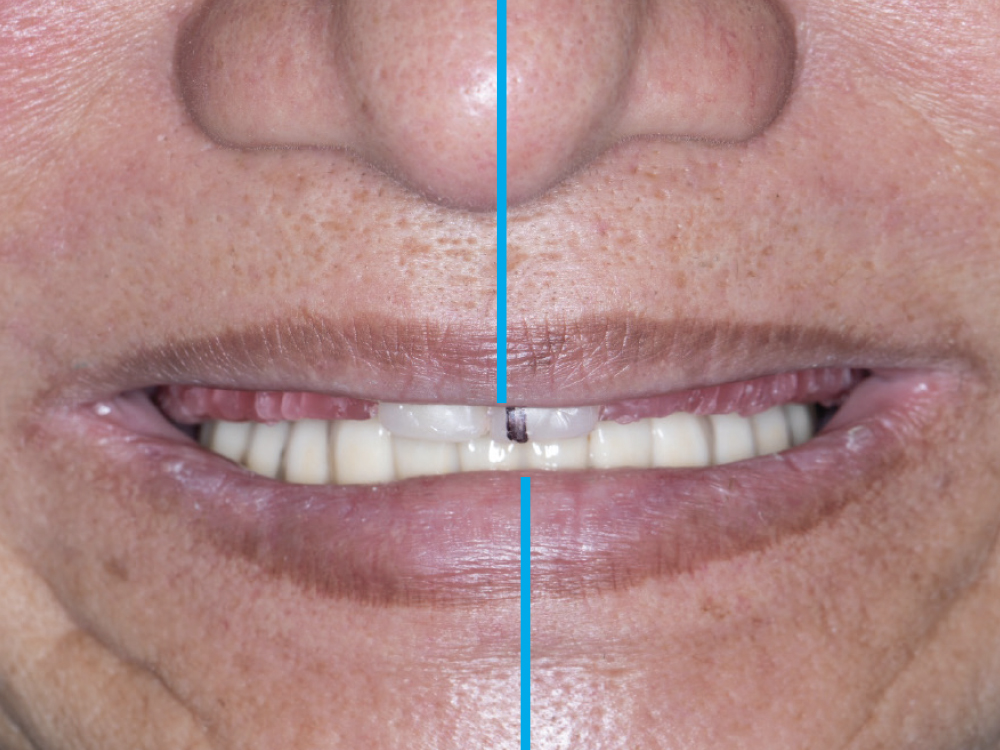
Figure 3: Midline. The maxillary midline is a balance between the facial and the dental mandibular midline. The two central incisors can either be marked intraorally, as shown here, or moved into the correct position.
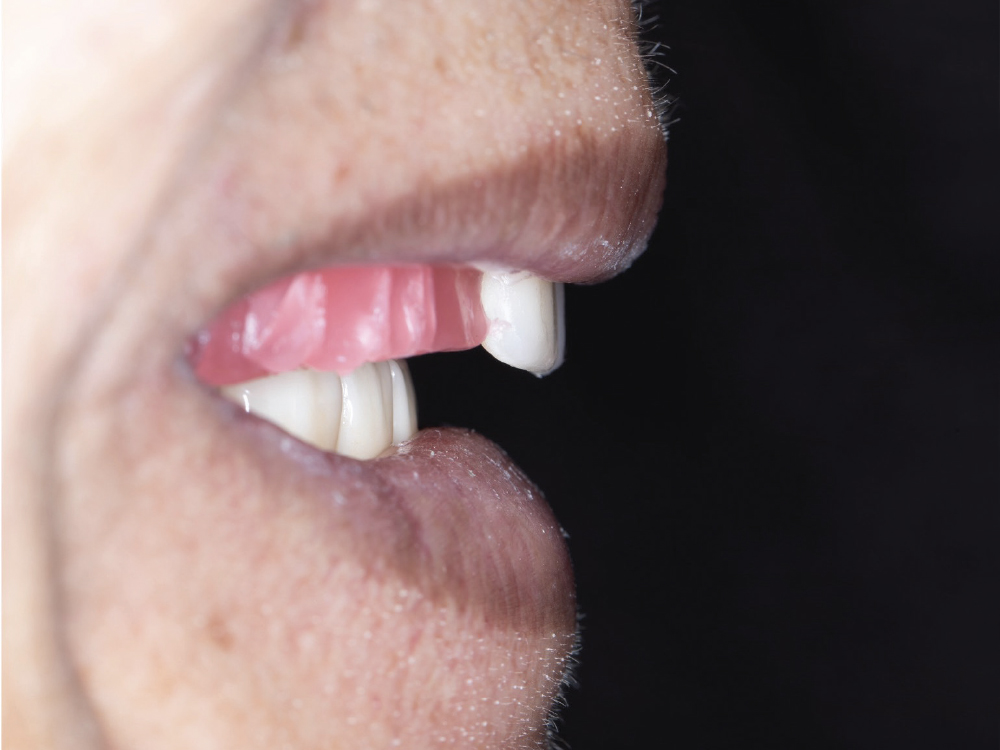
Figure 4: Incisal Edge Position/Phonetics. Maxillary incisal edge position can be assessed through esthetics and phonetics. Having the patient say fricative sounds, such as “f” and “v” words, is an especially helpful exercise to determine if the anterior teeth are in the correct position. The anterior position of the teeth also establishes lip support. In this case, the teeth are too far forward. Esthetically, soft-tissue and lip support can be subjective. Phonetically, the position of the teeth make it hard for the patient to articulate these fricative sounds. The inner vermillion border of the lower lip, often referred to as the wet-dry line, is a reliable landmark for positioning the maxillary central incisal edges.

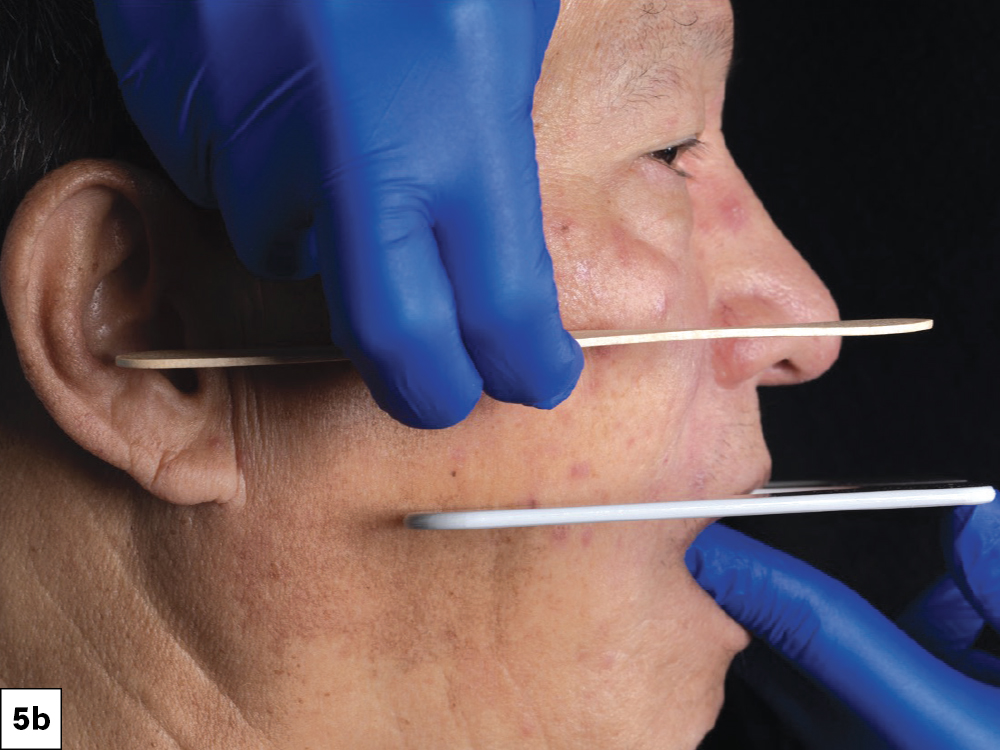
Figures 5a, 5b: Occlusal Plane. To establish the occlusal plane, I used an Alma Bite Plane (Astek Innovations; Altrincham, United Kingdom) to determine reference lines from both a frontal and sagittal view. From a frontal view, the occlusal plane should be parallel to the floor or the interpupillary line. In the anterior-posterior direction, the occlusal plane should follow the alatragus line, which runs from the inferior border on the ala of the nose to the superior border of the tragus on the ear. The correct orientation of the occlusal plane will help determine optimal esthetics and function moving forward.
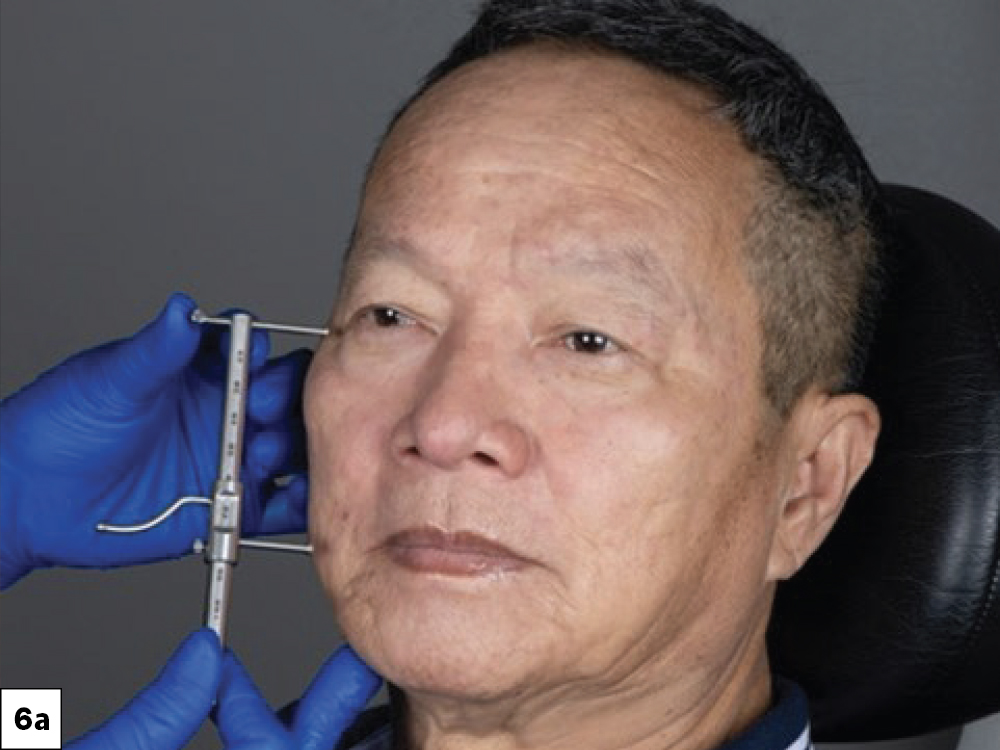
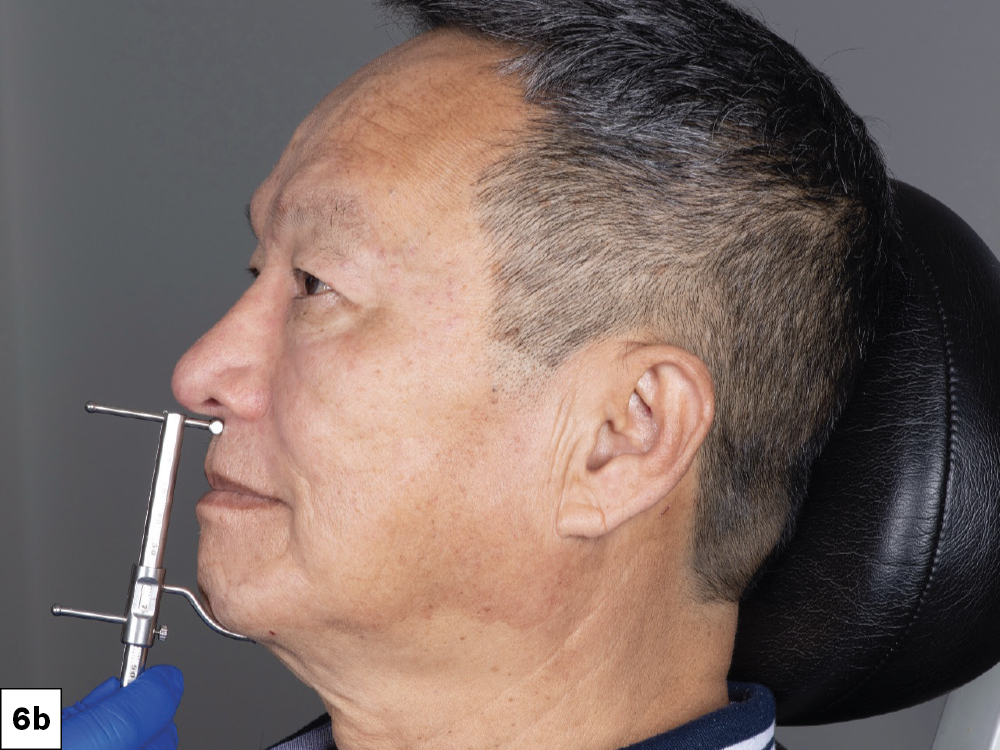
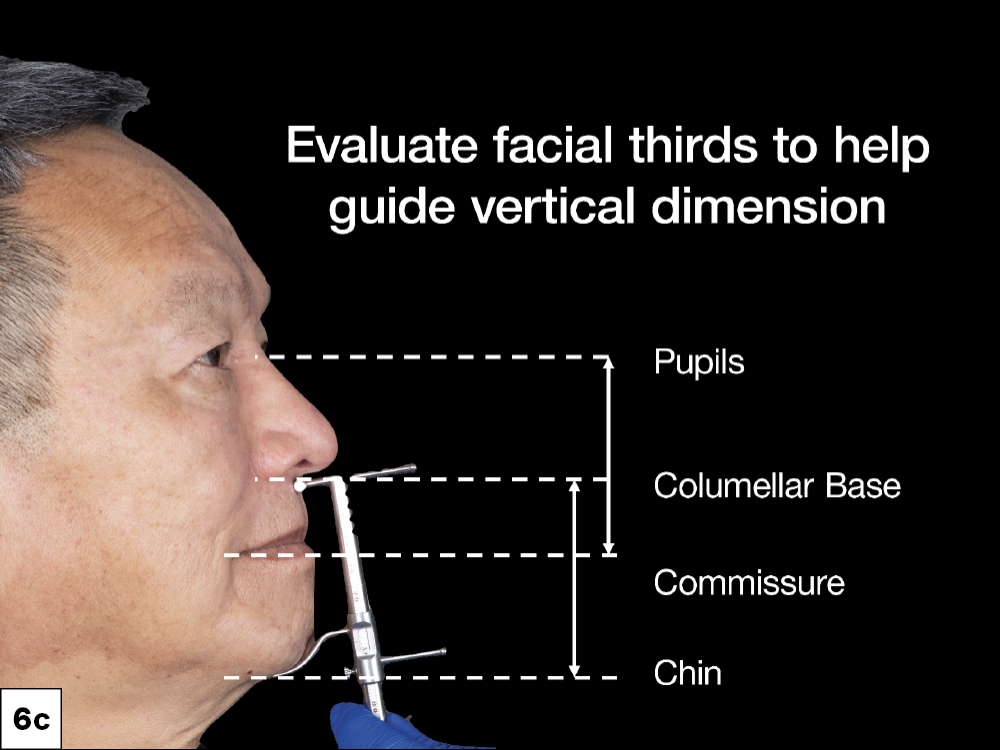
Figures 6a−6c: VDO. Esthetic and phonetic assessments are important for establishing the vertical dimension of occlusion. Here, a VDO Gauge™(Conmetior; Tracy, Calif.) is used to estimate the vertical dimension based on the facial proportions with the contoured wax rim in place, creating soft-tissue support and establishing a vertical stop. The measured distance from the pupils of the eye to the commissure of the lips should be proportional to the measurement from the columellar base (inferior portion of the nasal septum) to the chin.
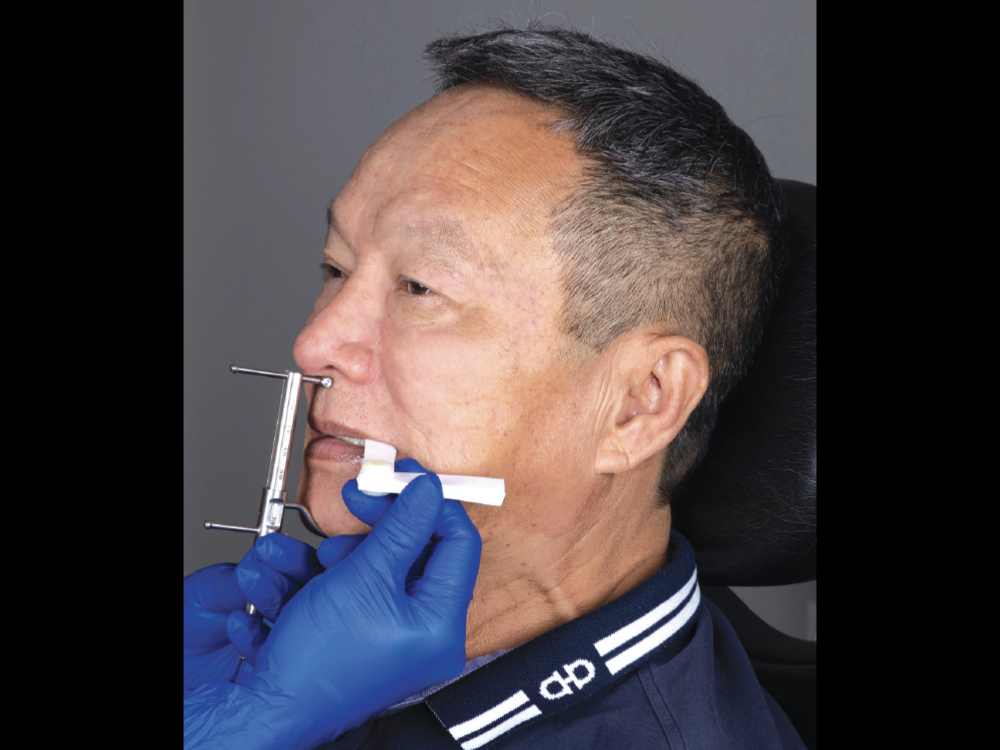
Figure 7: Bite Registration. The measurement from the columellar base to the chin was less than the measurement from the pupils to the commissure of the lips. This tells me that the vertical dimension is slightly over-closed. This can be confirmed by evaluating the soft-tissue support and muscle strain around the chin and lips. A leaf gauge was used to increase the VDO and guide the patient into a centric relation position. Bite registration material was flowed between the open posterior segments on each side to capture the maxillary-mandibular relationship.
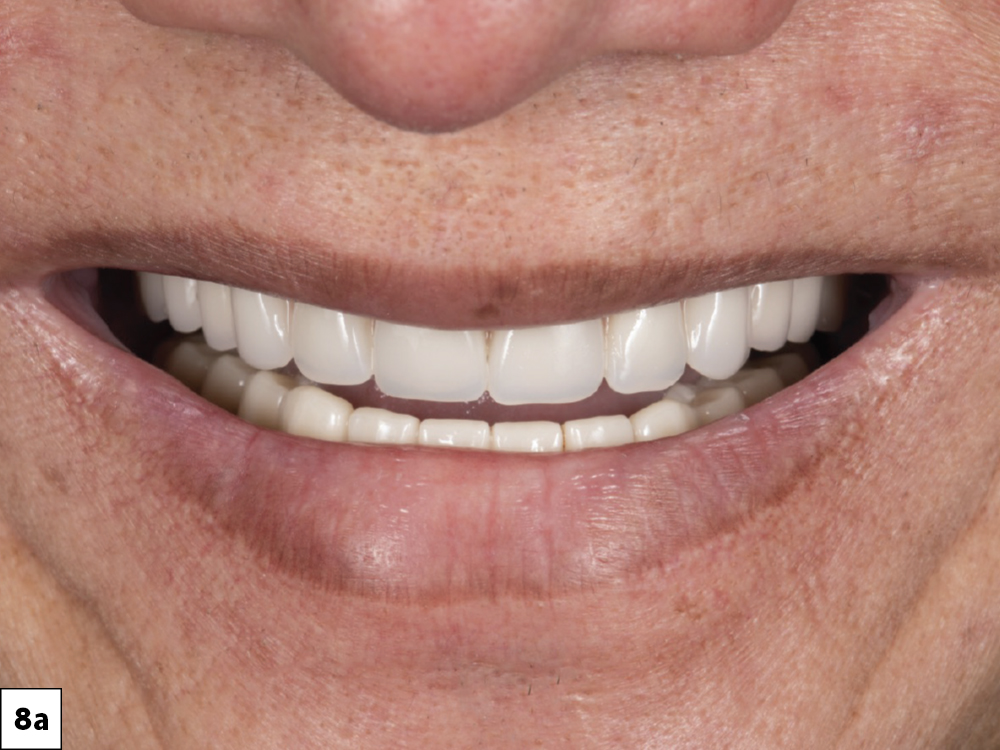
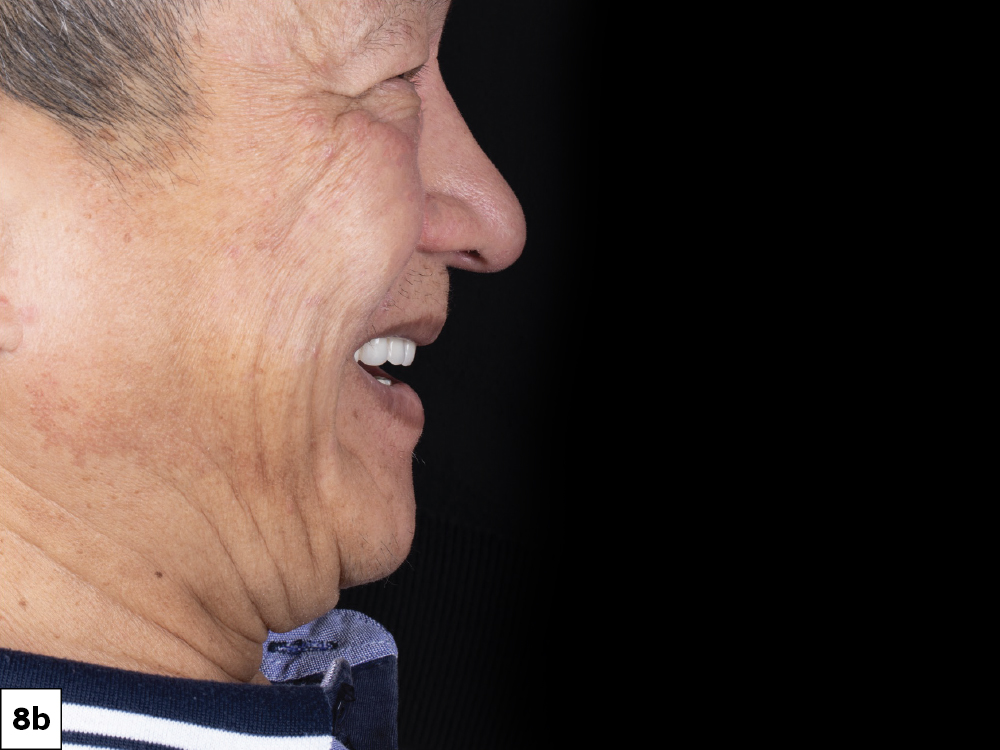
Figures 8a, 8b: The same checklist can be used to verify any corrections during try-in of the final tooth setup. At the end of each step, take a clinical smile photo, not only as a reference for yourself but also as a reference for the lab to see how the teeth fit within the patient’s facial harmony. Once you have verified that the wax try-in faithfully represents the clinical findings you established during the wax-rim appointment, you are ready to have the case finished and processed for delivery.
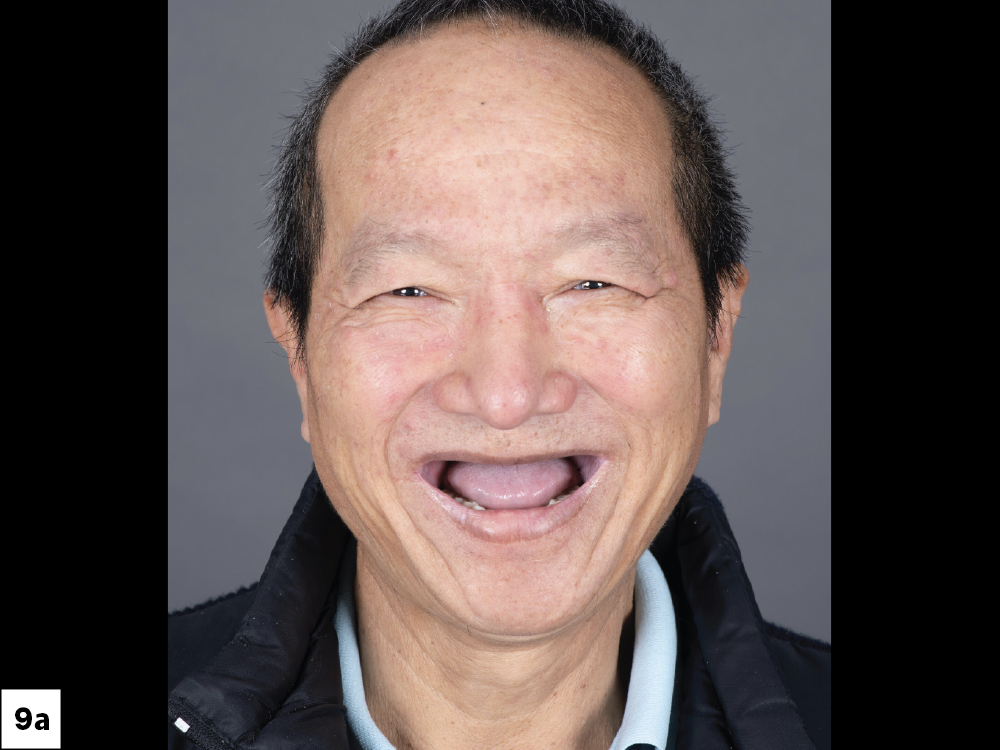
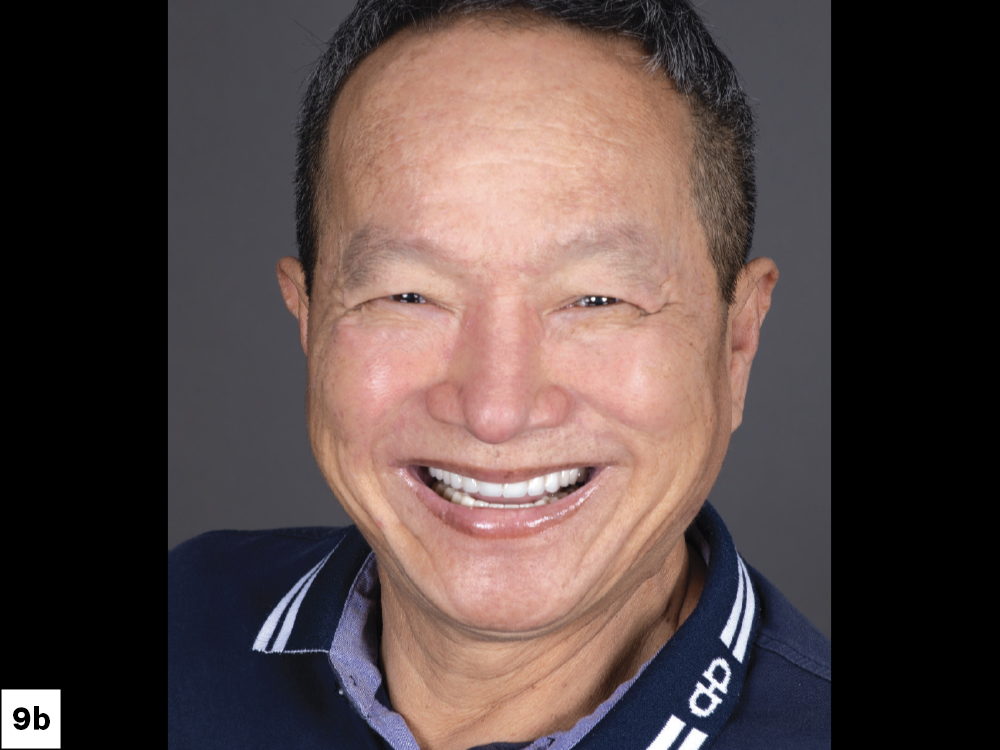
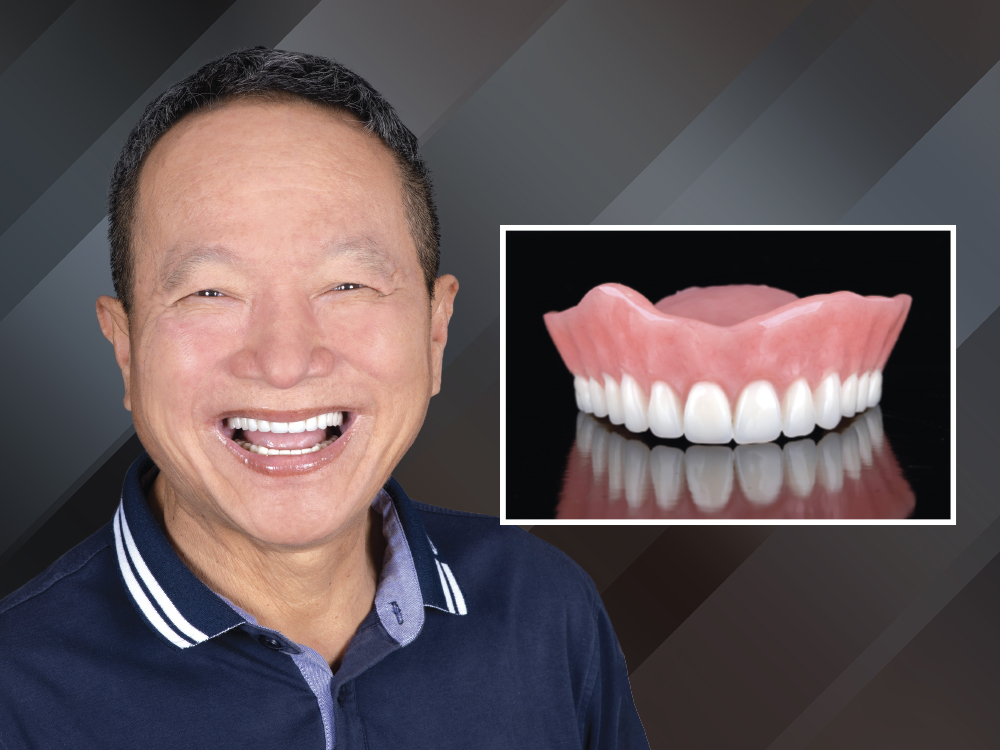
Figures 9a, 9b: The definitive prosthesis fit the patient comfortably, giving him a natural, esthetic smile.
CONCLUSION
By following the suggested checklist during the wax-rim stage of your maxillary denture case, you can gather crucial information that will assist the lab in creating an esthetic and functional restoration. Obtaining accurate information, including the incisal edge position, occlusal plane and VDO, will guide the technicians working on your case. This patient loved his new maxillary denture, and by taking the time to review the checklist and making the necessary adjustments, I was able to send him out of the office smiling.
Available CE Course