In this issue:
Esthetic Provisionals: Now More Than Ever
Author
For many years now, a quality laboratory-fabricated provisional has been an important part of my protocol for achieving patient acceptance and satisfaction with esthetic cases. After successfully placing over 10,000 units of these provisionals, I am now finding a significant new benefit in their use. As so many of us have discovered during the restarting of our practices after the COVID-19 shutdown, I find that many patients have financial challenges that prevent them from completing their cases as quickly as we would like. In fact, many of my patients require me to leave the provisionals in place much longer than my typical six to eight weeks.
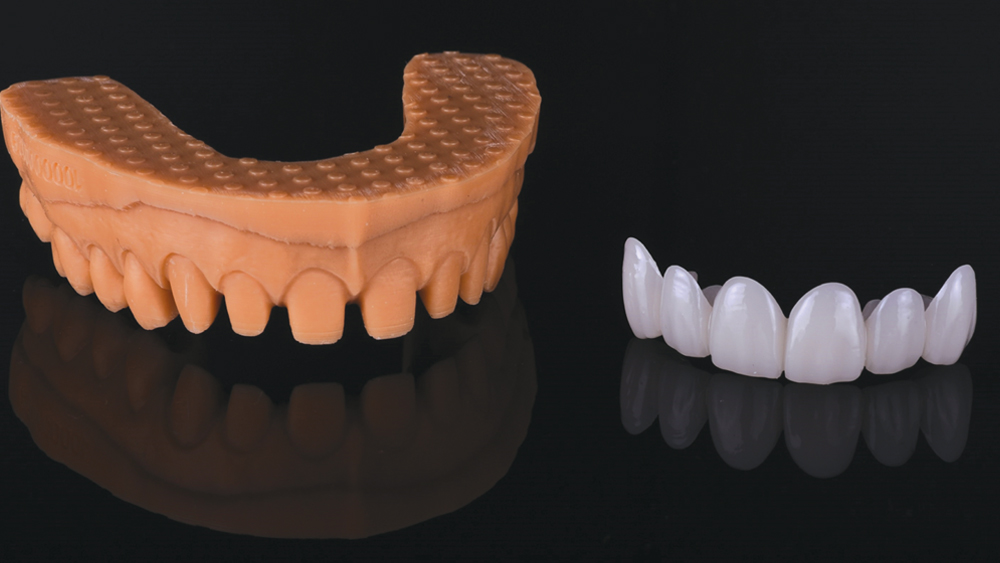
BioTemps® Provisionals are my solution for predictable, strong temporary restorations for patients. These laboratory-made esthetic shells from Glidewell are relined over the tooth preparations. Using BioTemps, and keeping the provisionals in place a bit longer, is now a key strategy in moving treatment forward for patients.
When I order BioTemps Provisionals, I take comfort in knowing Glidewell offers a six-month warranty on these provisional restorations. This benefit is another reason my office is relying on BioTemps more than ever to get our patients through tough financial times.
Let’s go through some cases that demonstrate how I use BioTemps Provisionals in my treatment protocol. As you’ll see, BioTemps are useful for cases that involve major changes to the anterior teeth and those that do not.
TREATMENT PLANNING
I always start my esthetic cases with a series of photos, not only to document the starting point, but also to communicate my needs to Glidewell when I order BioTemps Provisionals.
Taking photos of the patient at rest and fully smiling helps guide me to the correct incisal edge position of the central incisors.
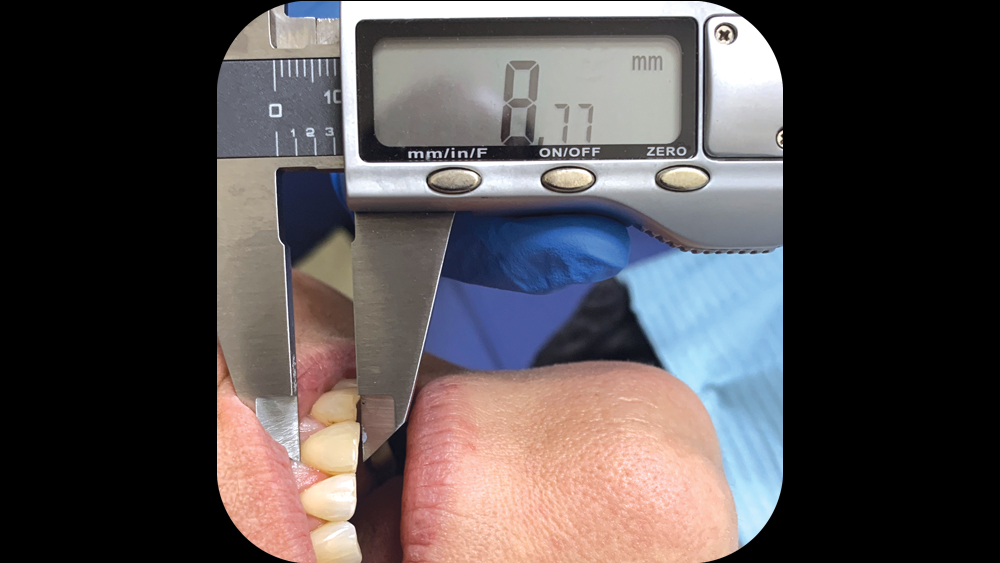
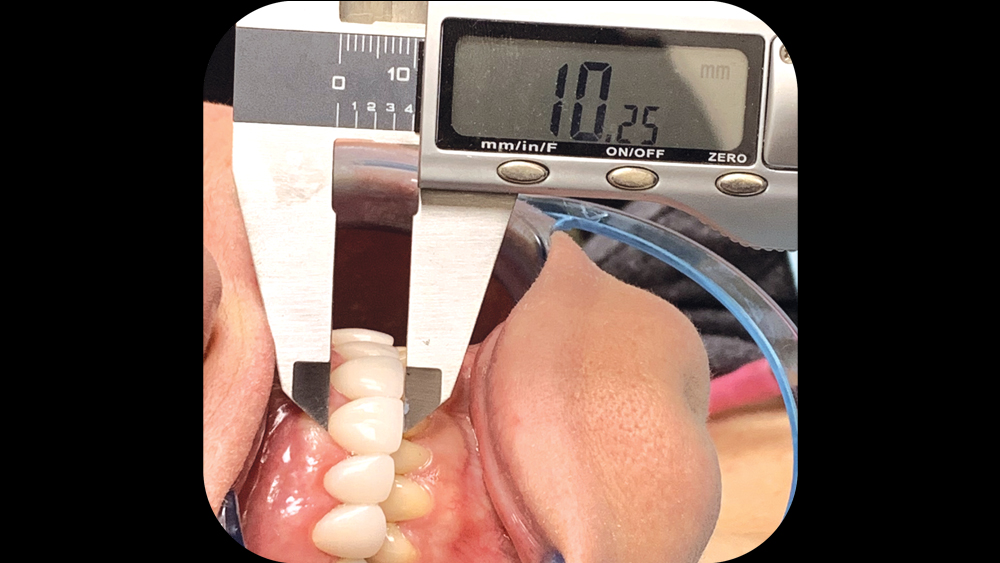
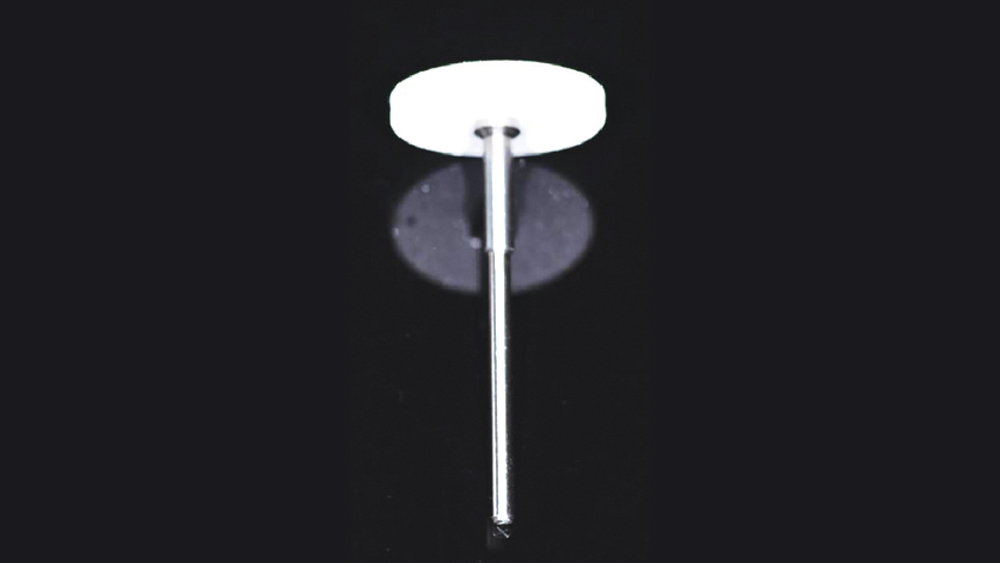
For cases where I am not changing the length of the centrals (either longer or shorter), I measure the length of one of the central incisors with a digital caliper. I communicate this measurement to the lab, providing the exact desired length for the centrals. Because BioTemps Provisionals are made from a digital process, the lab can easily duplicate the correct length.
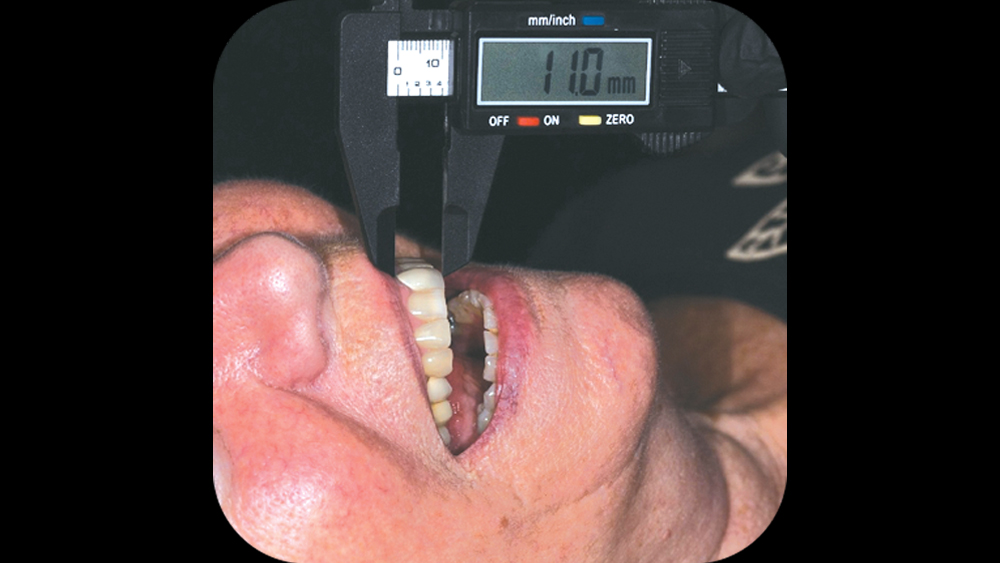
A good tip is to take a picture of the caliper as you measure the central incisor. For this case I’m documenting the length of the tooth that I want to match. I then can send the pre-op picture to Glidewell for fabrication of the BioTemps Provisionals.
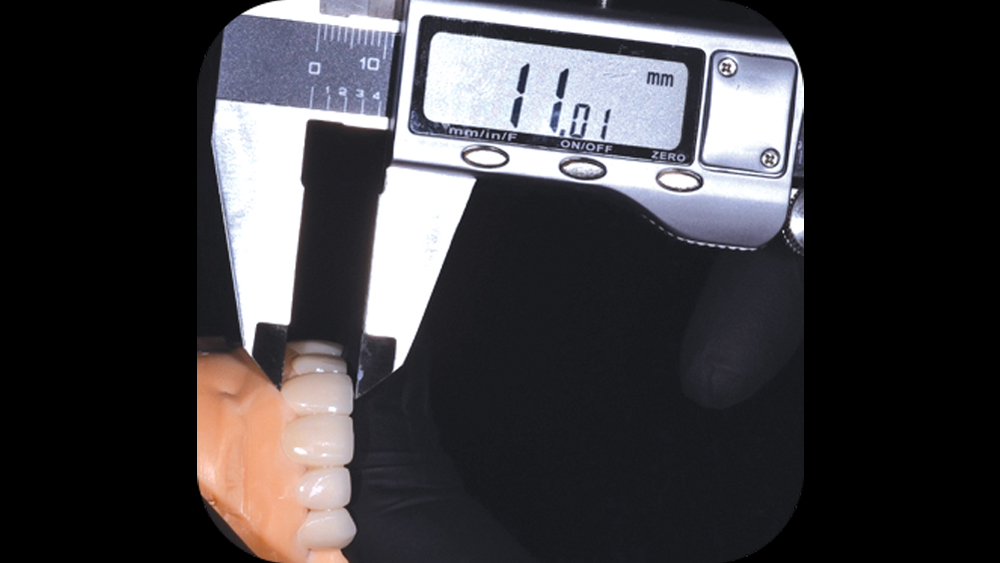
When the case is returned, I measure the BioTemps on the model for confirmation.
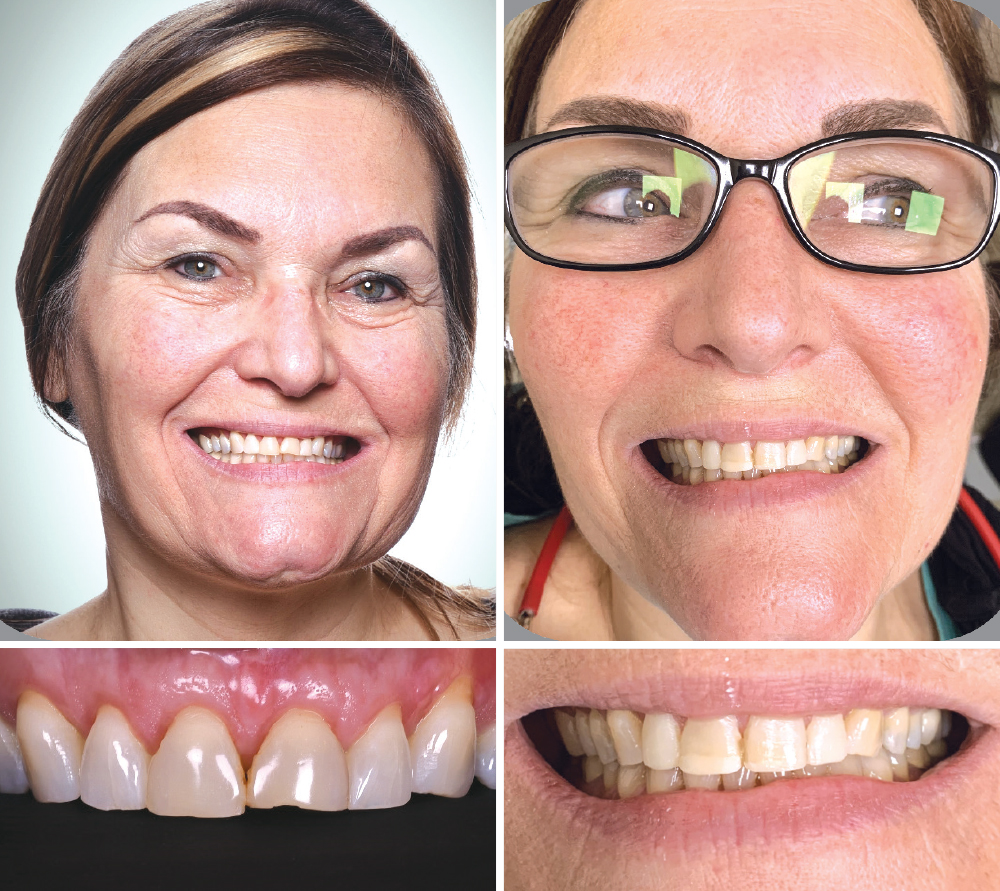
For larger esthetic cases, I have the patients return to the office a few days later so I can evaluate their smile without any facial numbness. New full-smile and rest photos are taken, and any changes are made if needed. I communicate these changes to the lab with photographs, study models or new scans of the perfected provisional.
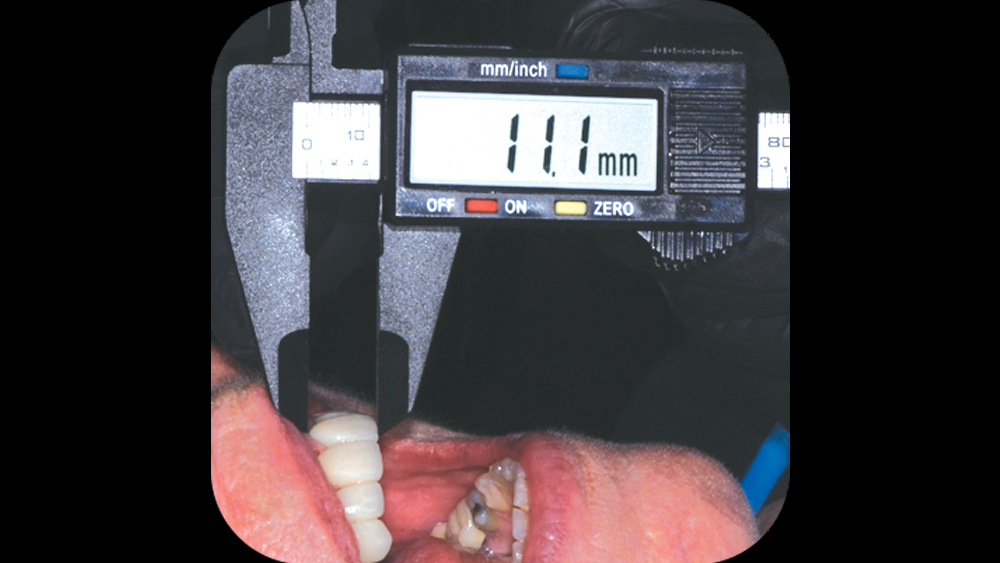
After seating the BioTemps, it is important to measure the centrals before finishing. This allows for verifying a correct match to the previously determined length. With a numb upper lip, it is hard to evaluate esthetics. Therefore, measuring the BioTemps is a critical step to ensure predictability.
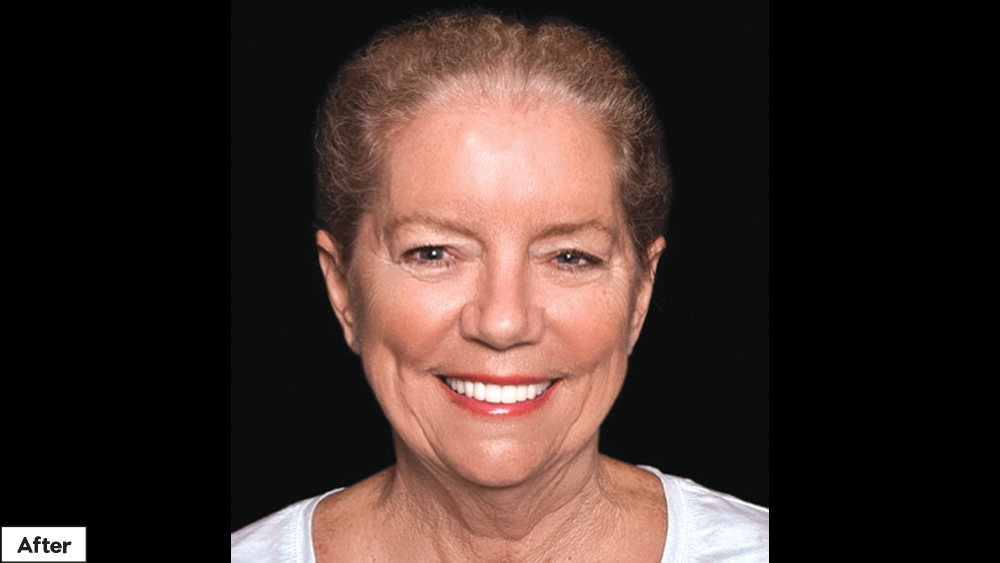
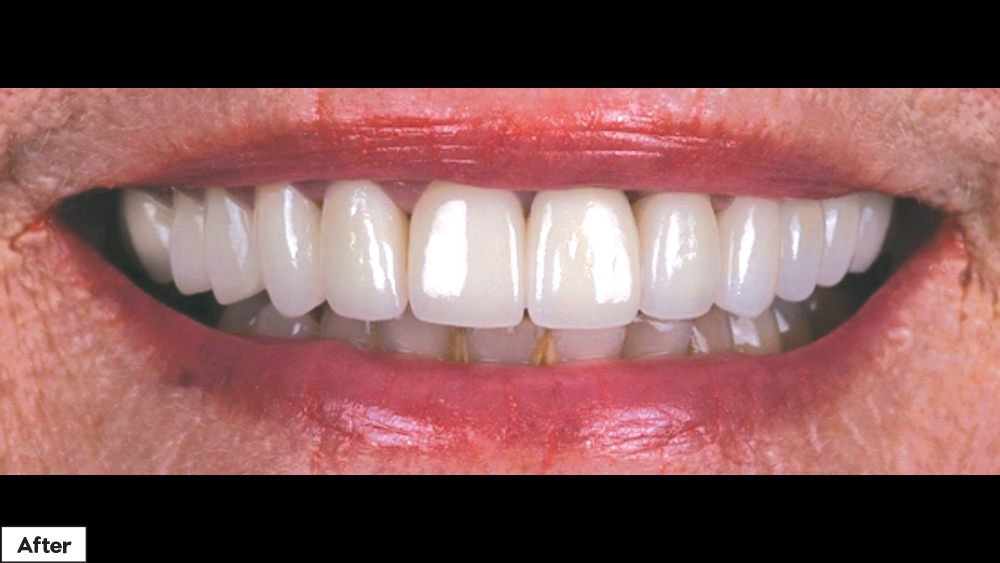
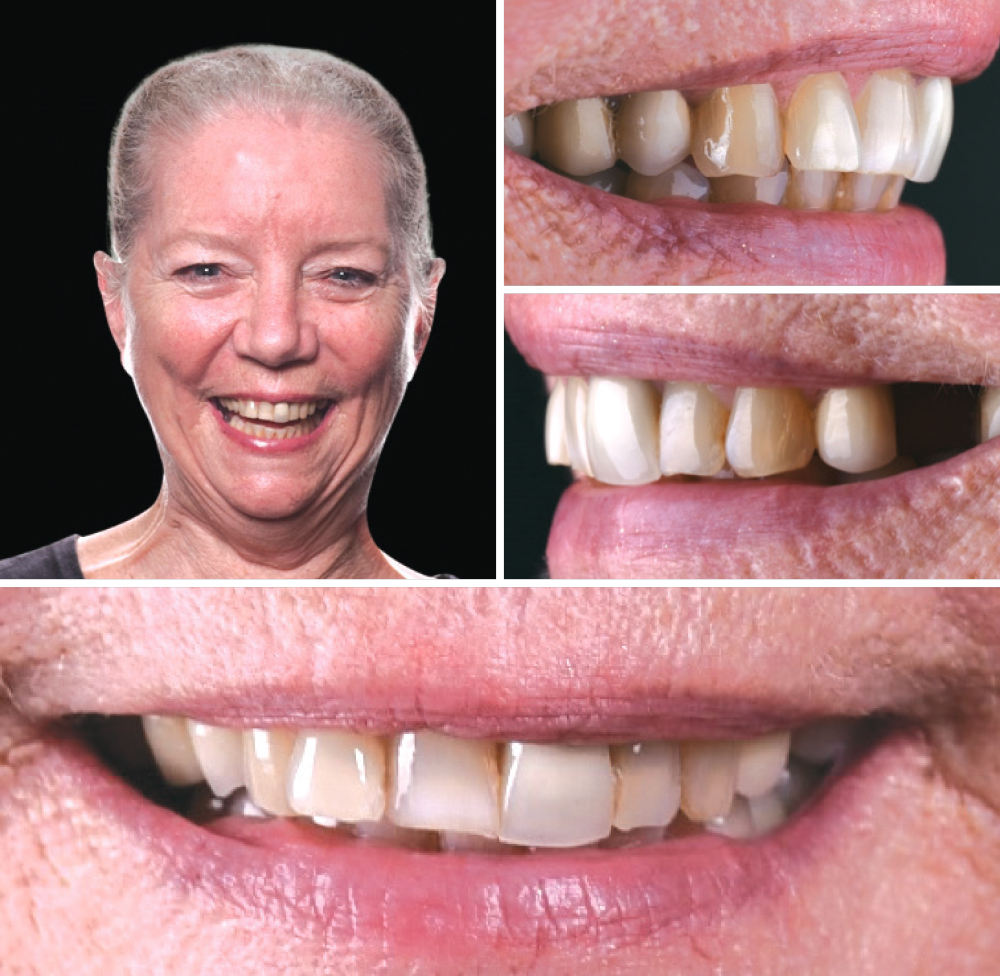
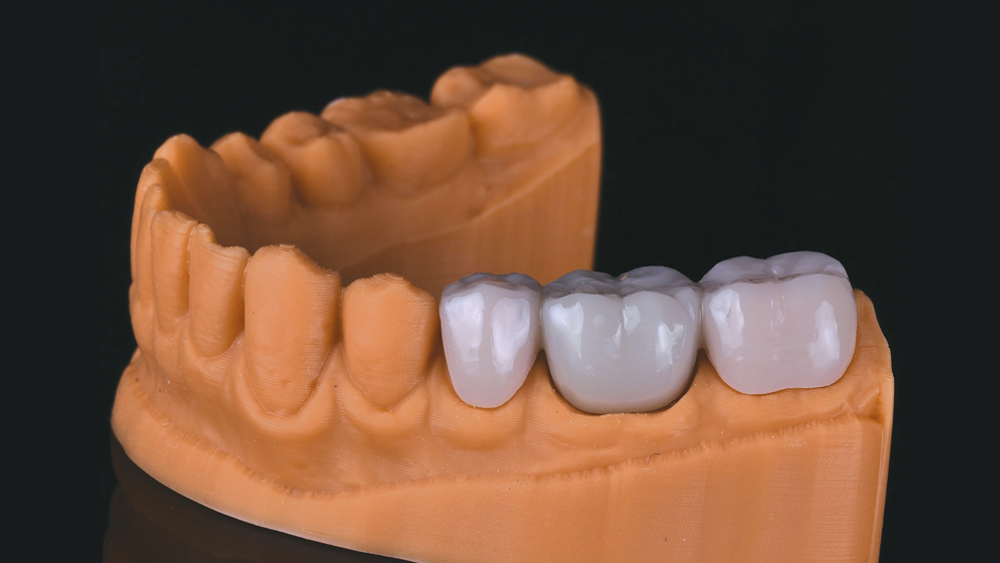
Because BioTemps Provisionals are designed digitally, they are easily replicated for the final restorations. For this case, the approved designs were used to create BruxZir® Esthetic Zirconia restorations (above).
In situations that call for changing the length of the central incisors, I need to determine the length. Will the centrals be longer or shorter?
PATIENT 1: REDUCING THE LENGTH OF THE CENTRALS
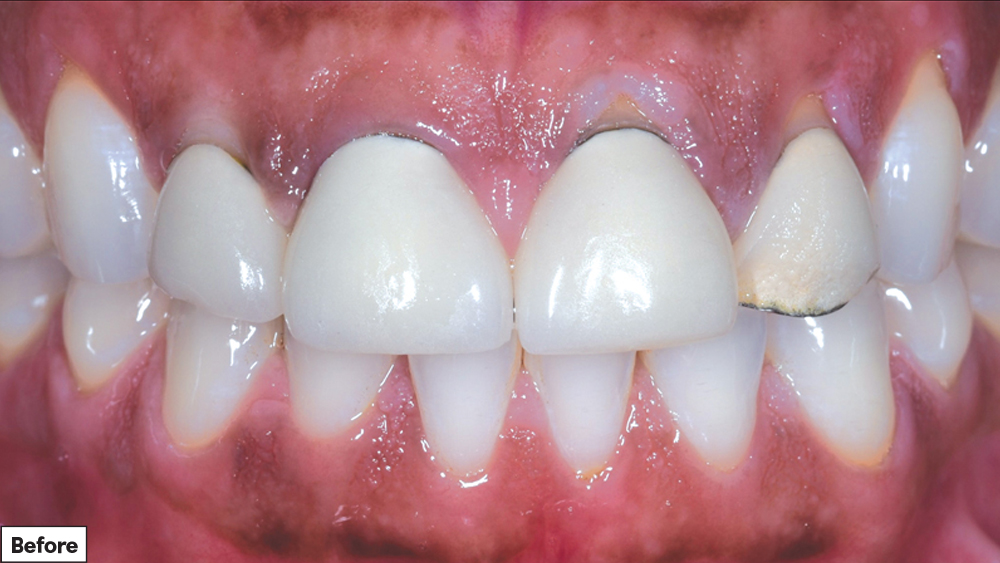
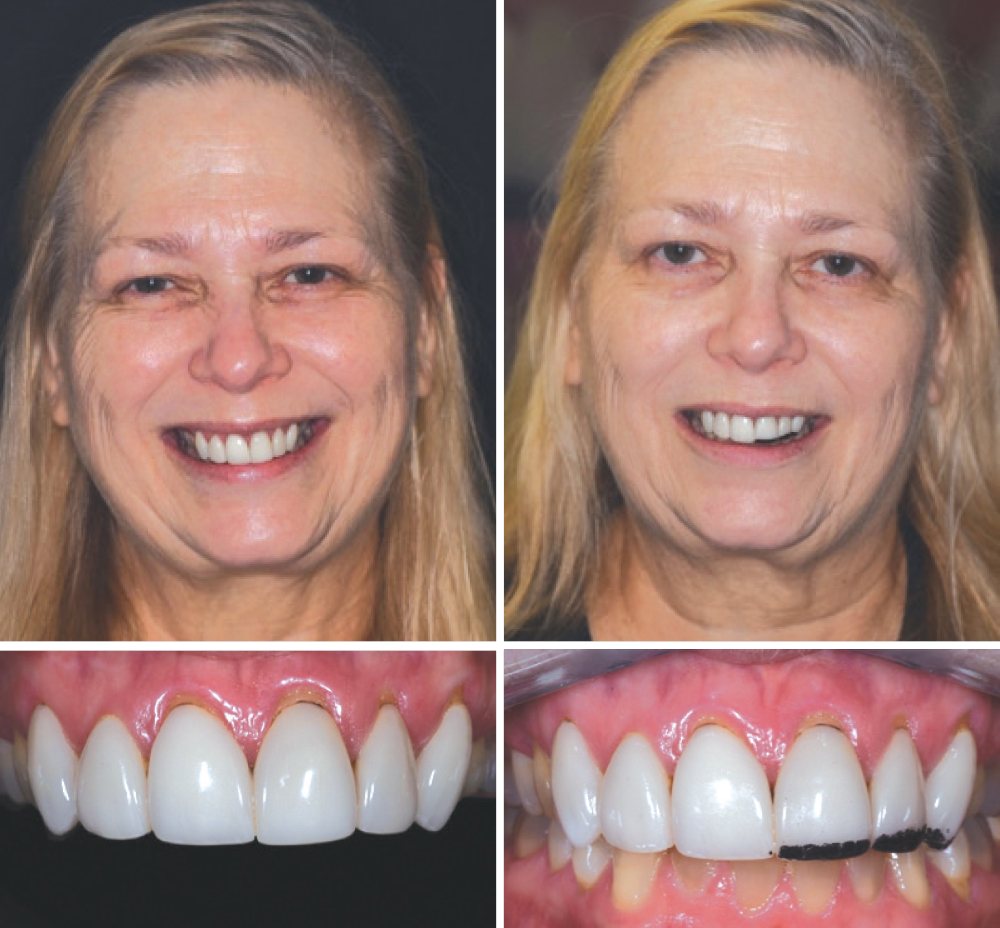
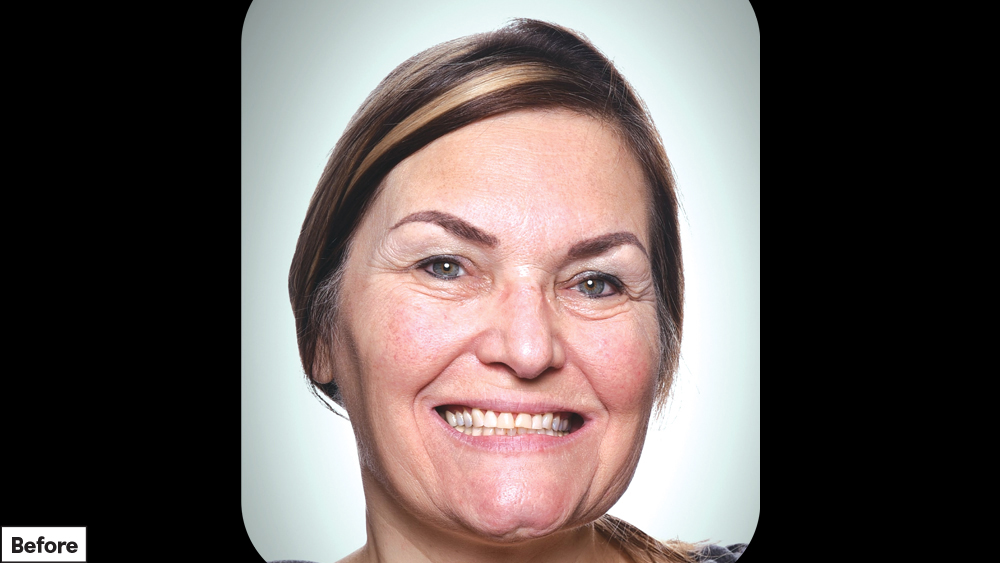
In the case shown below, my patient disliked the long appearance of her teeth. To simulate shorter teeth, I use a black marker to draw directly on the incisal edge of one of the centrals. Then, I take additional photos. In the subsequent photos, the black marker is not apparent, and the teeth magically appear shorter.
PATIENT 2: CREATING LONGER CENTRALS
For this patient, we wanted to increase the length of the centrals. Using composite, I can quickly add length to the central incisors and achieve a motivational mockup. Whether I’m adding to the length or marking an incisal edge for shortening, I evaluate the new incisal edge position, along with other factors such as esthetics, speech and any occlusal issues.
Many DLSR cameras have built-in Wi-Fi, which allows for quickly sending mock-up photos to a phone. You then can choose from a number of available apps that enable you to create simple side-by-side layouts displaying the mock-up photos next to the before photos, for easy comparison. I use this process to show patients the photos I just took and to further discuss the treatment plan.
After the correct length of one or both centrals has been determined, I record the length with the digital caliper. I take a photo of the caliper in place and send this information to the lab.
Using this simple process, I am assured predictable results for the BioTemps Provisionals.
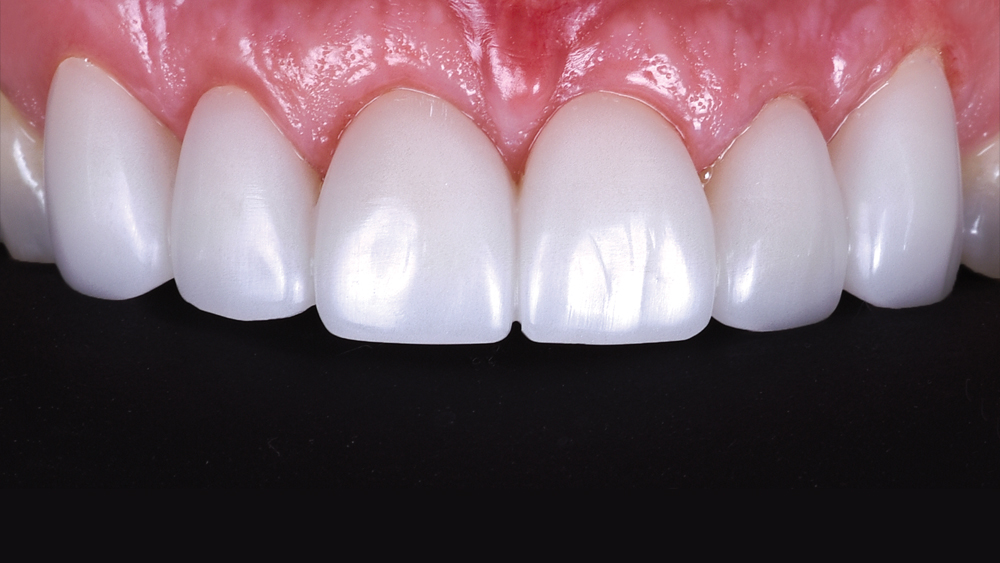
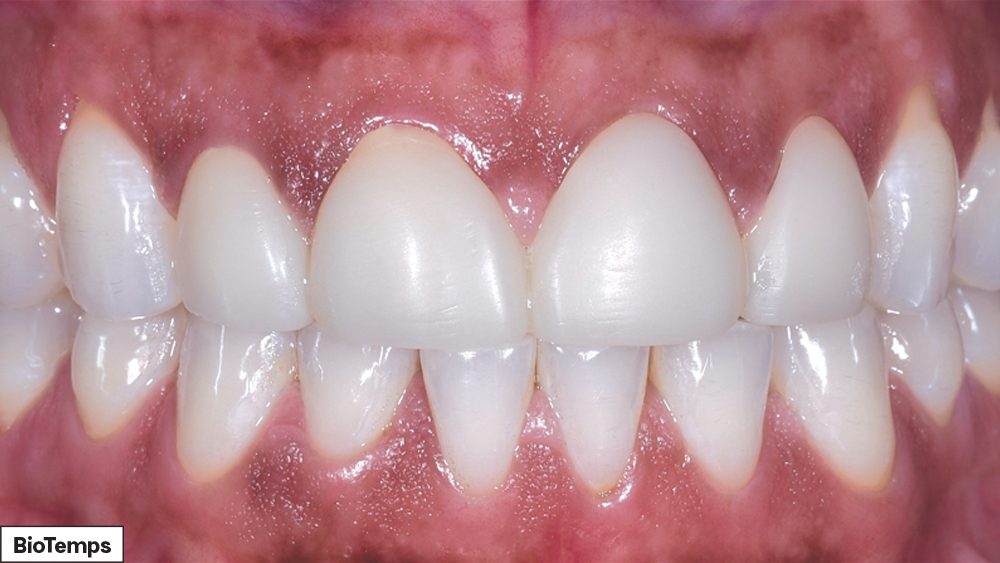
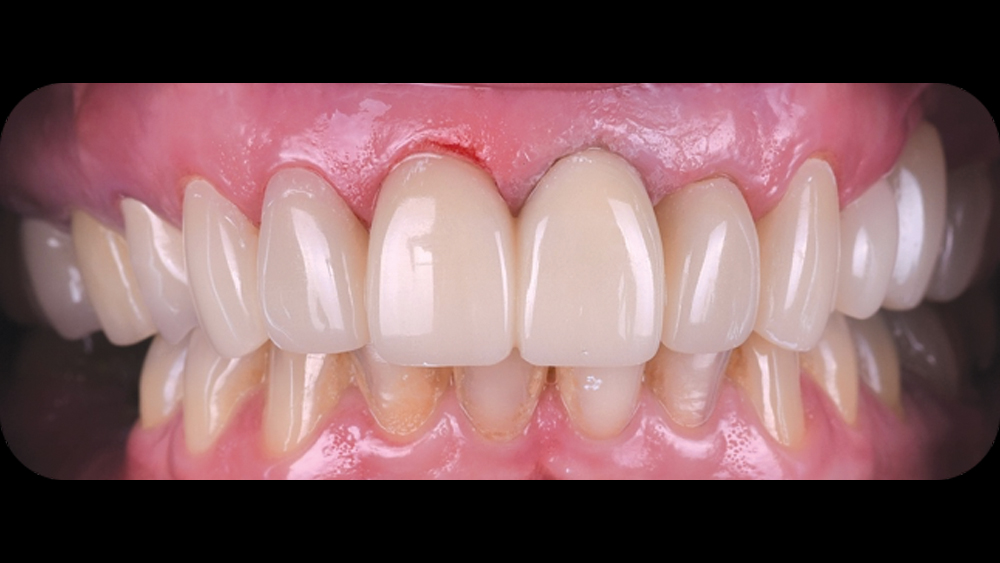
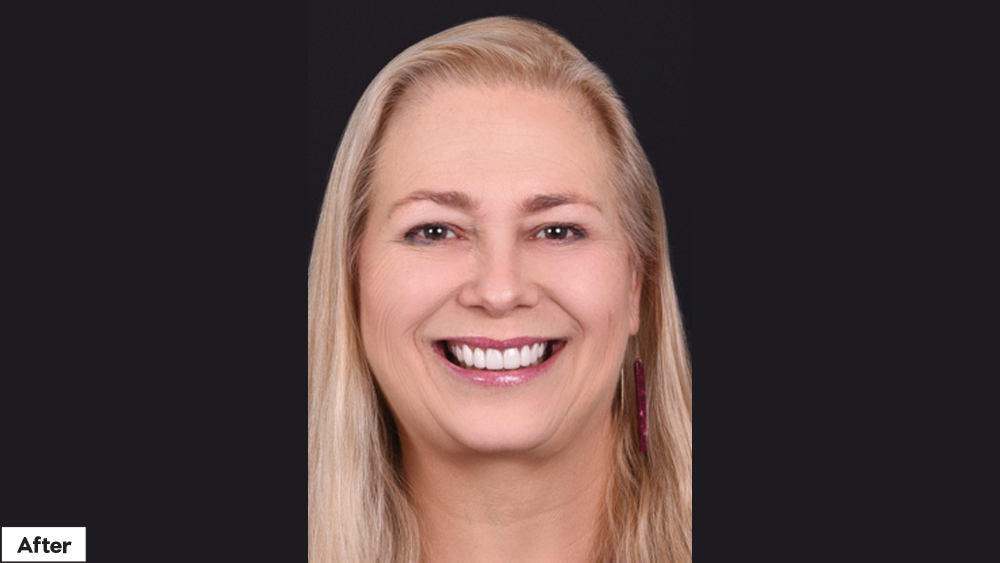
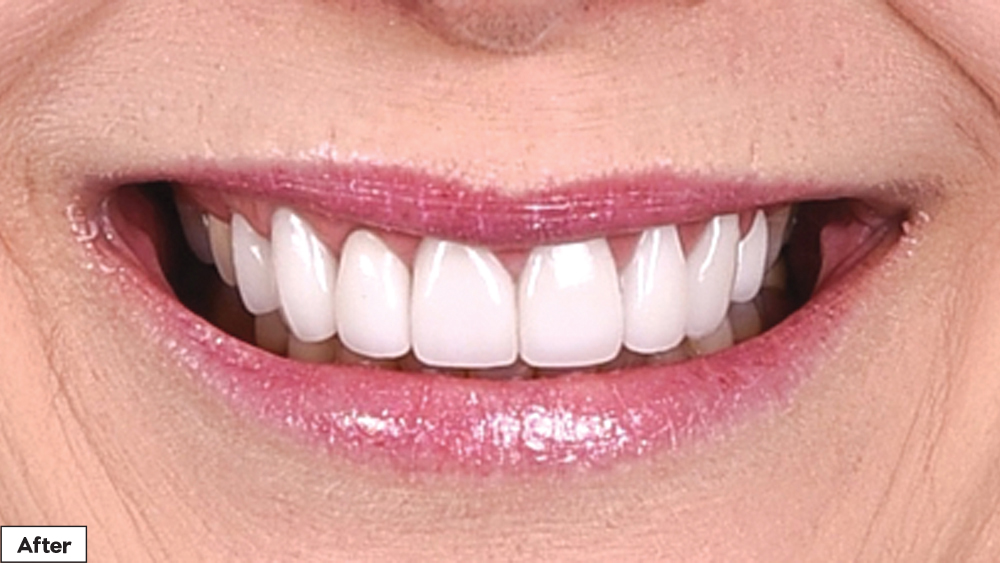
After: The BioTemps Provisionals the day of seating.
TIPS FOR ORDERING BIOTEMPS®
- Send the lab a quality model or scan for them to work with. This applies to crown & bridge cases and veneer cases.
- Write your lab prescription when you have the stone model in your hand or the photographs in front of you. This will allow you to remember details about the case and include these instructions in your lab prescription. Details such as tooth rotation, buccal corridor issues or tooth proportions are important.
- Look at the arch form and note any changes to be made.
- Look at the gingival heights and mark the model or photo with any changes that you are planning. The lab will incorporate those changes into your BioTemps.
- Send a shade photo for the BioTemps when you send your lab prescription. This is very important because you want to deliver BioTemps with the best shade possible. This will be a stepping stone in ensuring the final shade is correct.
- Consider asking for 1 mm reduction of the teeth and for multiple units to be splinted together. I always do.
From multiple single units to a bridge, you can order BioTemps Provisionals for your crown & bridge cases for anterior or posterior cases. You also can order BioTemps for veneer cases.
TIPS FOR RELINING PROVISIONALS
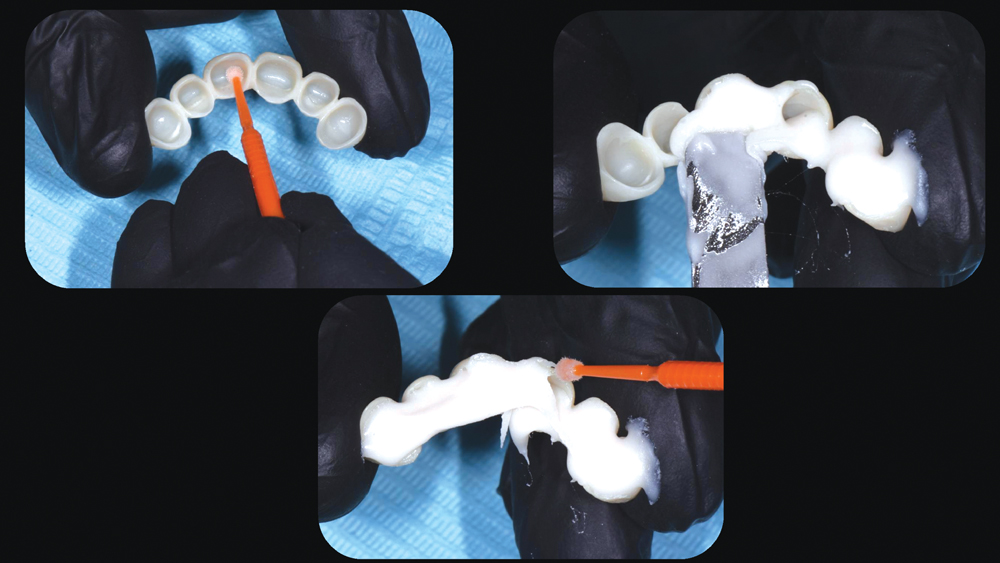
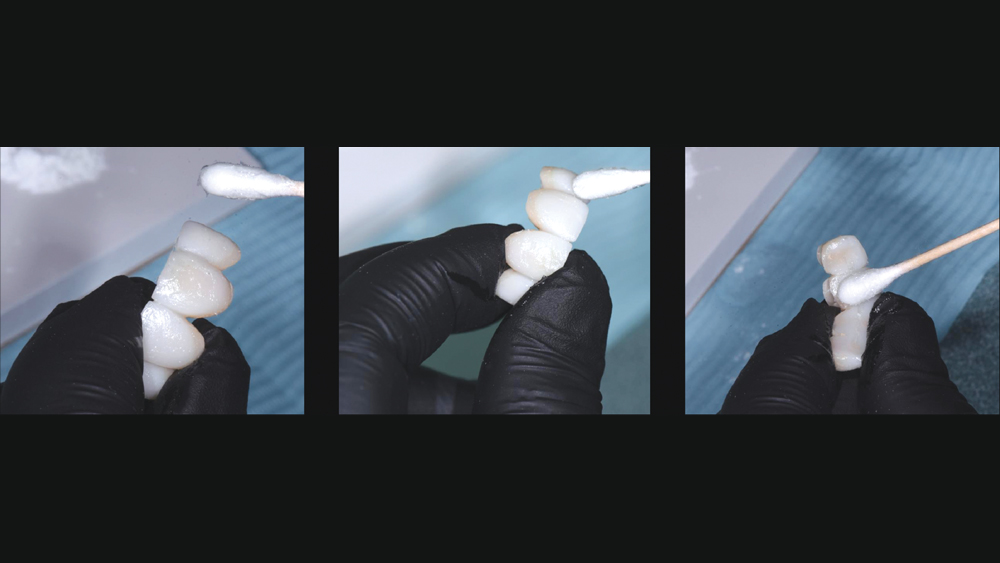
- Coat the inside of the provisionals with monomer from the acrylic.
- Mix the acrylic reline material to a honey-like consistency in a dappen dish and load into the provisionals.
- It is better to overfill the provisionals with acrylic than to underfill.
- Use a microbrush or explorer to push the acrylic down into the provisionals to minimize any voids.
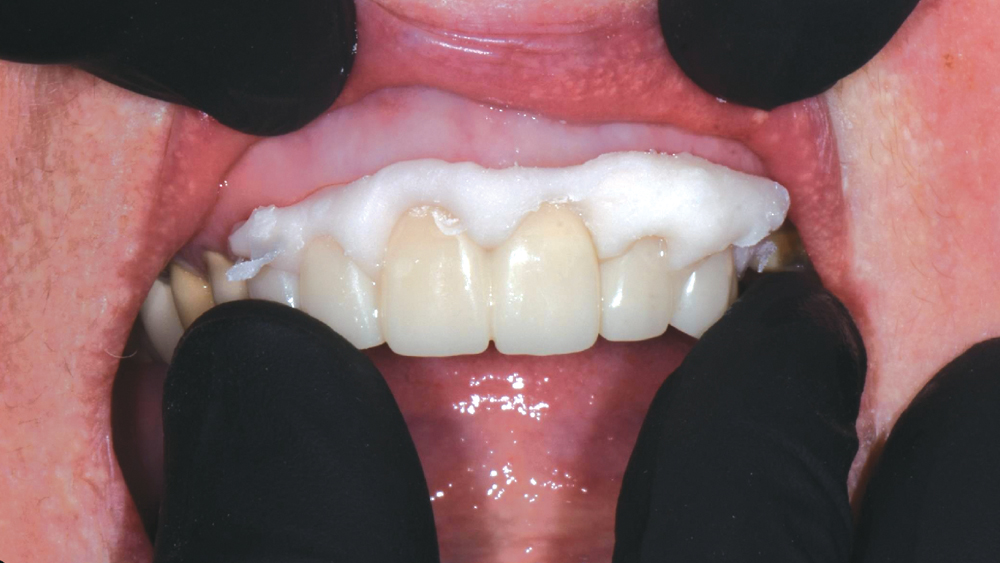
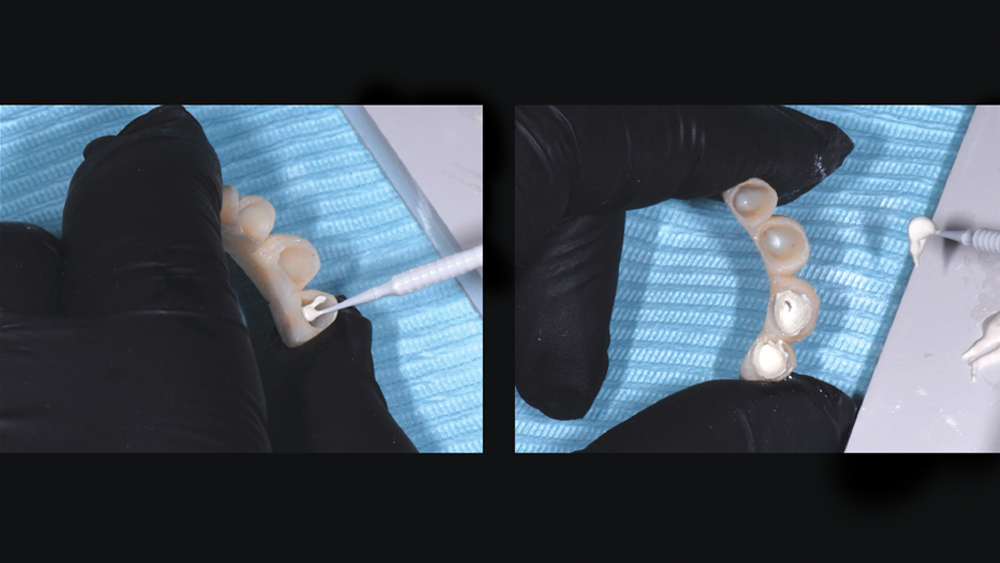
Use even pressure when seating BioTemps Provisionals, ensuring the centrals are level and not canted. It is good to have excess acrylic flow out at the margins.
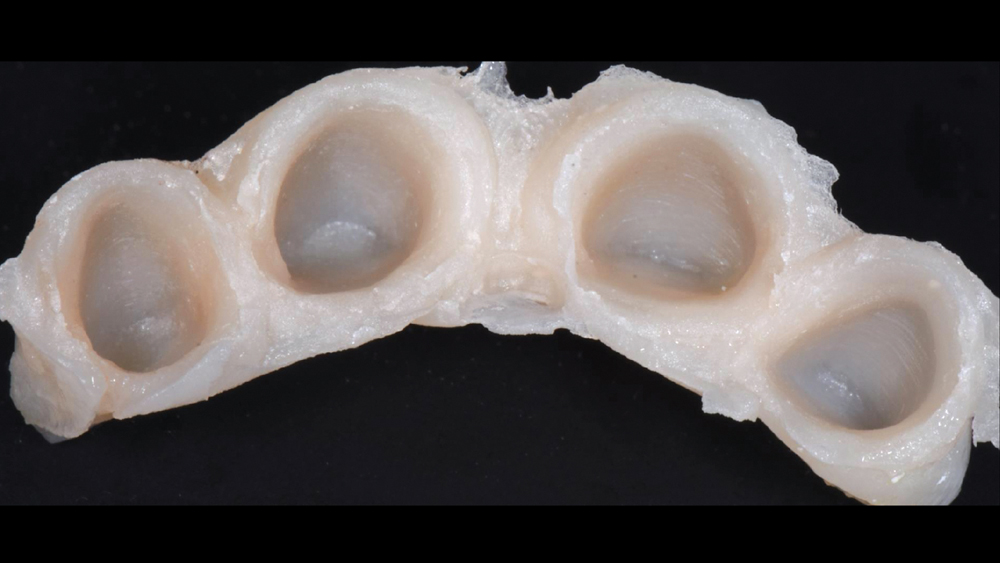
After the excess acrylic is wiped away with liquid monomer and the acrylic is dry, your BioTemps will look similar to this. All the margins are captured and can easily be trimmed.
TOOLS FOR TRIMMING AND POLISHING BIOTEMPS
BioTemps Provisionals should be highly polished after all the adjustments are made. A clean, wet rag wheel with laboratory pumice (medium grit) is applied first, followed by Fabulustre® (Grobet USA; Carlstadt, N.J.) for a very high shine.
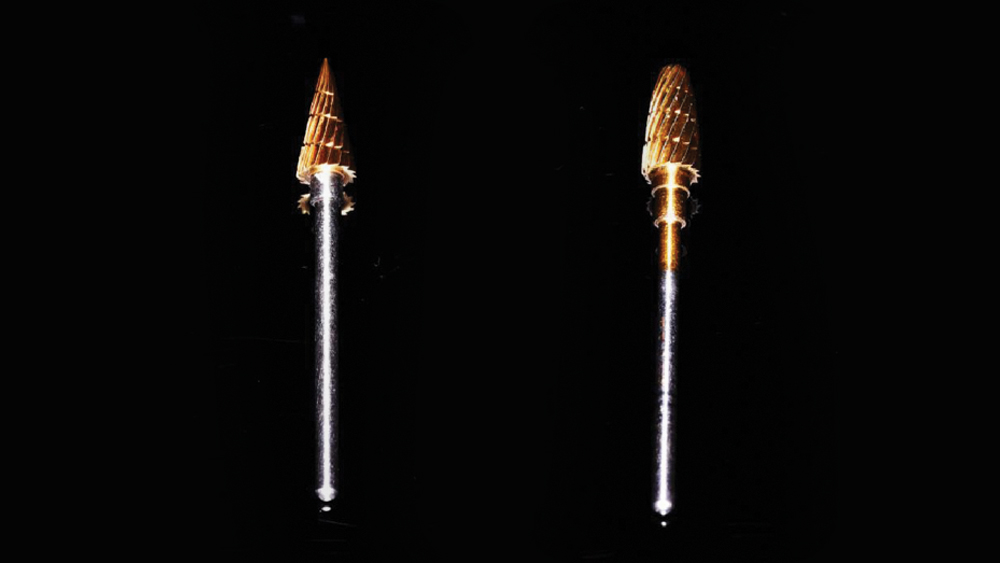
Goldies® Carbide Bur 82-T and 84-T (8002 and 8001; Dedeco International Inc.)
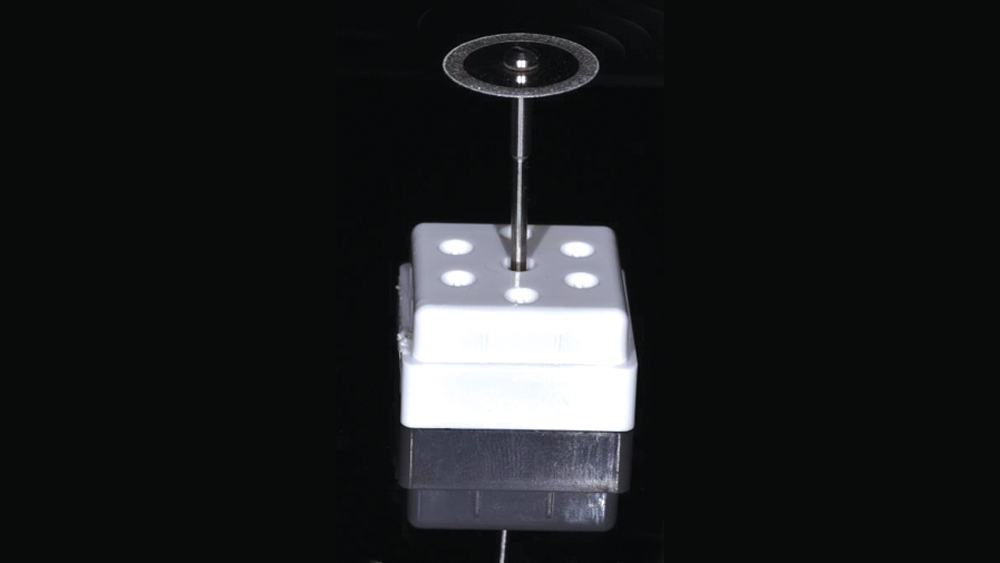
NTI® Double-Sided Diamond Disc (D354-220; Kerr Rotary)
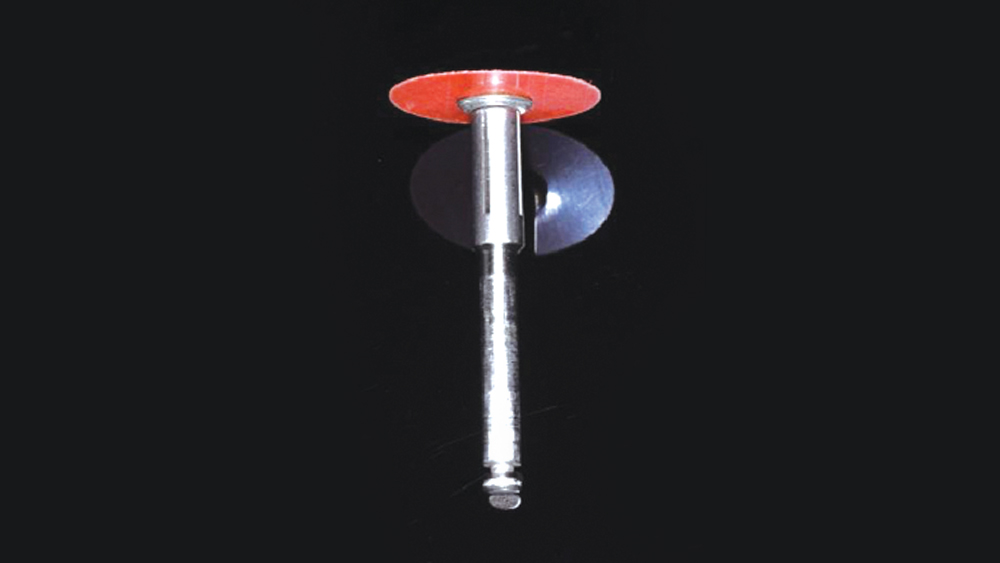
3M™ Sof-Lex™ Extra-Thin Contouring and Polishing Discs- Coarse (2382C; 3M)- Medium (2382M; 3M)- Fine (2382F; 3M)
NTI Silicone Polisher - White 10-pack (P0301-220; Kerr Rotary)
TIPS FOR CEMENTATION OF BIOTEMPS
I always use IRM (Dentsply Sirona; Charlotte, N.C.) because it is strong and soothing to the teeth. The free eugenol is no longer present within a week, so there is no issue with bonding the restorations in place. For faster setting, I add a few drops of water to the mixture when I mix the IRM. This greatly accelerates the setting time.
I apply petroleum jelly to the outside of the provisionals so the IRM material will not stick.
To make cleanup easy, I use a microbrush to apply the IRM material in a thin layer to the inside of the provisionals.
When I prescribe BioTemps Provisionals for veneer cases, I spot-etch and spot-bond near the incisal edge (never near the margin), apply flowable composite and seat the provisionals. In some cases, a very small amount of permanent cement may be needed in place of flowable composite.
CONCLUSION
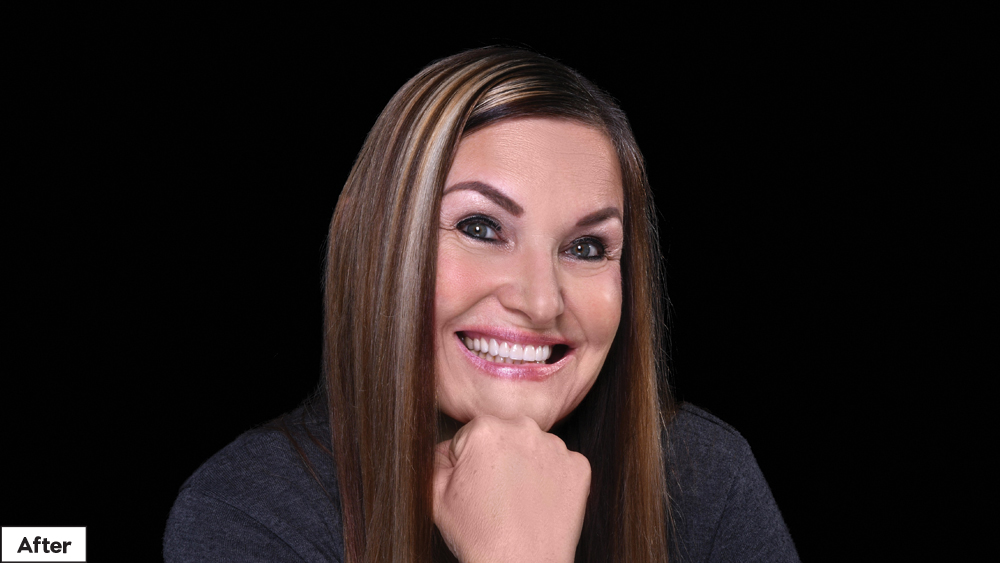
I view BioTemps Provisionals as a stepping stone to the final result. Done well, BioTemps can give your patients a valuable preview of the planned treatment and provide the lab a great template to follow.
These esthetic temporaries also allow your patients to confidently go to work, and be with family and friends, even if financial limitations require them to be in provisionals longer than usual. Follow these simple protocols, and send your patients out the door happy, smiling and eager to send you more referrals.